2020年4月25日 星期六

[Week 7] Model Making

My inspirations: Huts of Tai O, Hong Kong


Model that I've made


Materials: Leatheroid, styrofoam, paper, and rubber band.

Scale: 1:15
This is my first ideal room. I always wish to live on the sea like huts in Tai O, Hong Kong. Tai O is known as the Eastern Venice. I also wish to have a piano in my room because I don't have it in my original room. I want it so bad because music is my life. Moreover, I made some furniture such as a desk and a bed in order to make this model looks like a room. Last but not least, I created two little humans with the remains of leatheroid and rubberband. Aren't they cute?

2020年4月17日 星期五

[Week 7] 3d Shapes: Fusion 360 Loft and Shell

First attempt 

Small curvilinear object using initials (K, C, H)


I found it so difficult when it comes to making the letter 'C' because I am not too familiar with Loft and Shell features of Fusion 360. I made an 'O' instead. However, I am not too satisfied with the shape of the model. It looks so bad and weird so that's why I made another one which is the following model.

Second (Final) attempt

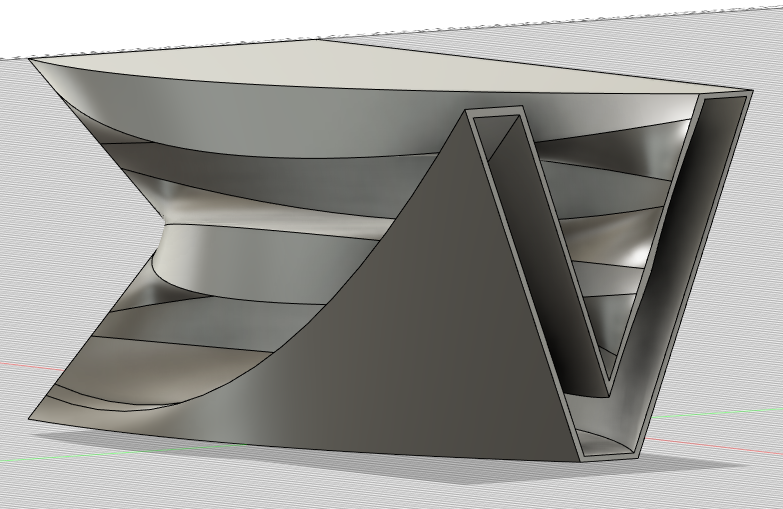
Small curvilinear object using initials (K, E, V)


Ready for 3D Printing


This time, I tried to make it with my first 3 letters of my English name, Kevin, which is 'K', 'E', and 'V'. I am so satisfied with this model because the shape and the curve is much better and smoother. Moreover, I applied materials on it this time. I chose the dark blue glass, black glass, and sand. The environment is a photo of the beach. The reason why I made it look like a beach is that I miss going beach so much... Social distancing is so good but so bad. I finally saved it in an STL format which means it is ready for 3D printing.


2020年3月31日 星期二

[Week 6] Model Making


What I've done this week
This week, I've made the same model as the previous one. However, this time, it has furniture in it and it’s in a different scale (1 to 50). I found it very difficult to make because it’s too tiny. I could barely stick the cardboard together with a pincers. Moreover, I’ve tried to photograph better model. I first made my background white with papers. I then placed my model on it. I subsequently turned on the flash with different positions and took photos. I eventually turn off the light and took it again to make a comparison between the room with light sources and without light source.

With light source 


Without light source


The followings show the details of my room

It's my study area!

This is my toilet!

This is my bed!

The followings are photos of my real room!


2020年3月24日 星期二

[Week 5] Fusion 360 2.5d Shapes and Assemblies

First attempt

Transition Space


 Layout of components


Illustrator template - ready for laser cutting

This model isn't created by me. I just followed the tutorial and did it step-by-step.

Second (Final) attempt

Transition Space


 Layout of components

Fusion 360 Model in paper


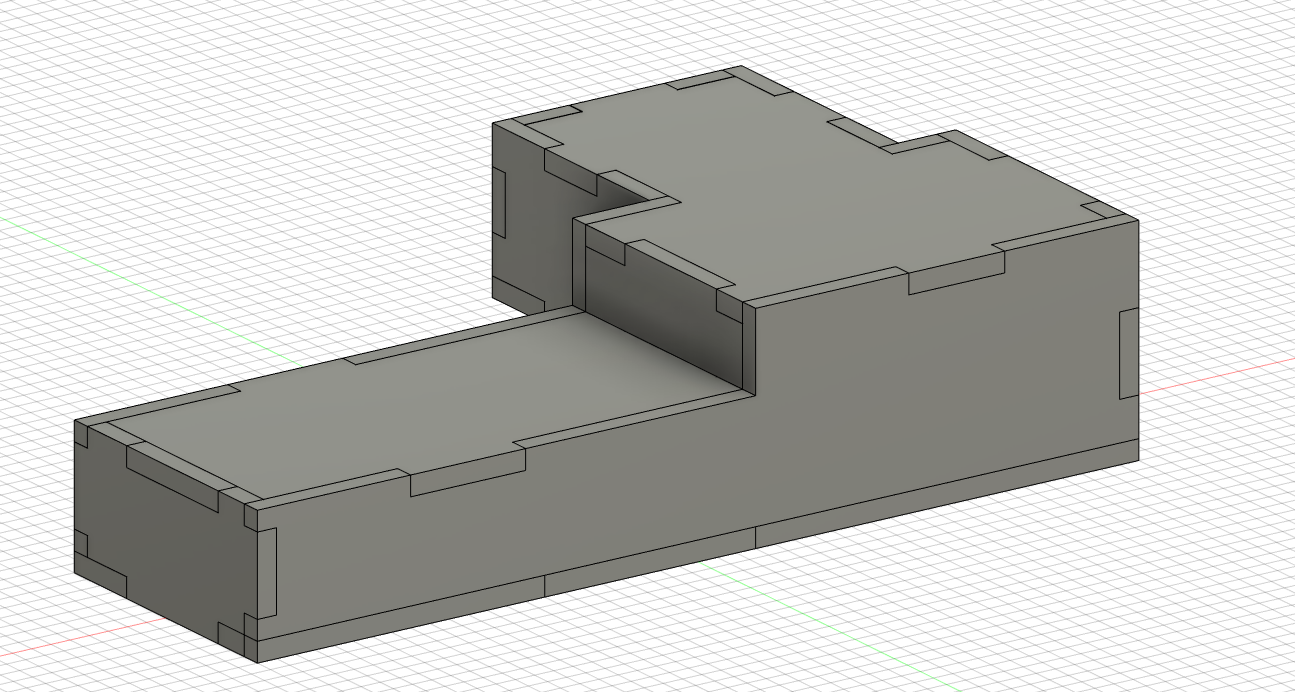
After the first attempt, I am able to make my own model. I first drew my draft on a piece of paper. I then give them lengths. I finally made a model that can fit the template for laser cutting. Moreover, I tried to make it in the paper and took pictures of it with light source. It is a 1:4 model. It is the first model that I have ever made from digital to real life. What a good start!

2020年3月23日 星期一

[Week 5] Models Making


What I've done this week 
This week, I've created models of the space I am working at. I've used the materials from my tool kits such as steel ruler, cutting mat, and blade for cutting straight lines and a cereal box to create these models. I first measured the space's heights and widths with my steel ruler. I  then identified the floor ceilings, walls, doors, and windows. I eventually made these models by folding them together. This time, the models I've made are in 1 to 20. After making the model in cardboard, I've made another one with papers. After making these models, I've made a comparison between these two different materials. Both cardboard and papers are good materials for making models. However, I personally prefer using cardboard because it is thicker in width and heavier in weight. It stands better than papers. However, it really depends on what we are going to make. When it comes to topography, papers will be a better choice to use because it is thinner and lighter so that we can control the shape and size easily. That's what I've found and learned this week. 

Model in cardboard


Model in paper


[Week 5] Folding Techniques

What I've done this week
This week, I've learned several folding techniques such as pleated surfaces, curved folding, and crumpling from videos provided by FoldingTechinques.com. I've found them useful because they help designers to make three-dimensional from two-dimensional sheets of fabric, cardboard, plastic, metal, and many other materials. Among all of the folding techniques, I love X-Form Span the most because it is so beautiful and easy to make! 

Dividing the papers


Masu Box


Crumpling


Simple Spirals


 V-Pleats


X-Form Spans


No Crease


[Week 10] Assessment 3

100-word written statement Light and Shadows Light and shadows never standstill. Shadows change when the light source is moved. I expe...